Tuesday, 28 February 2012

gratuitous button shots!

phwoar!
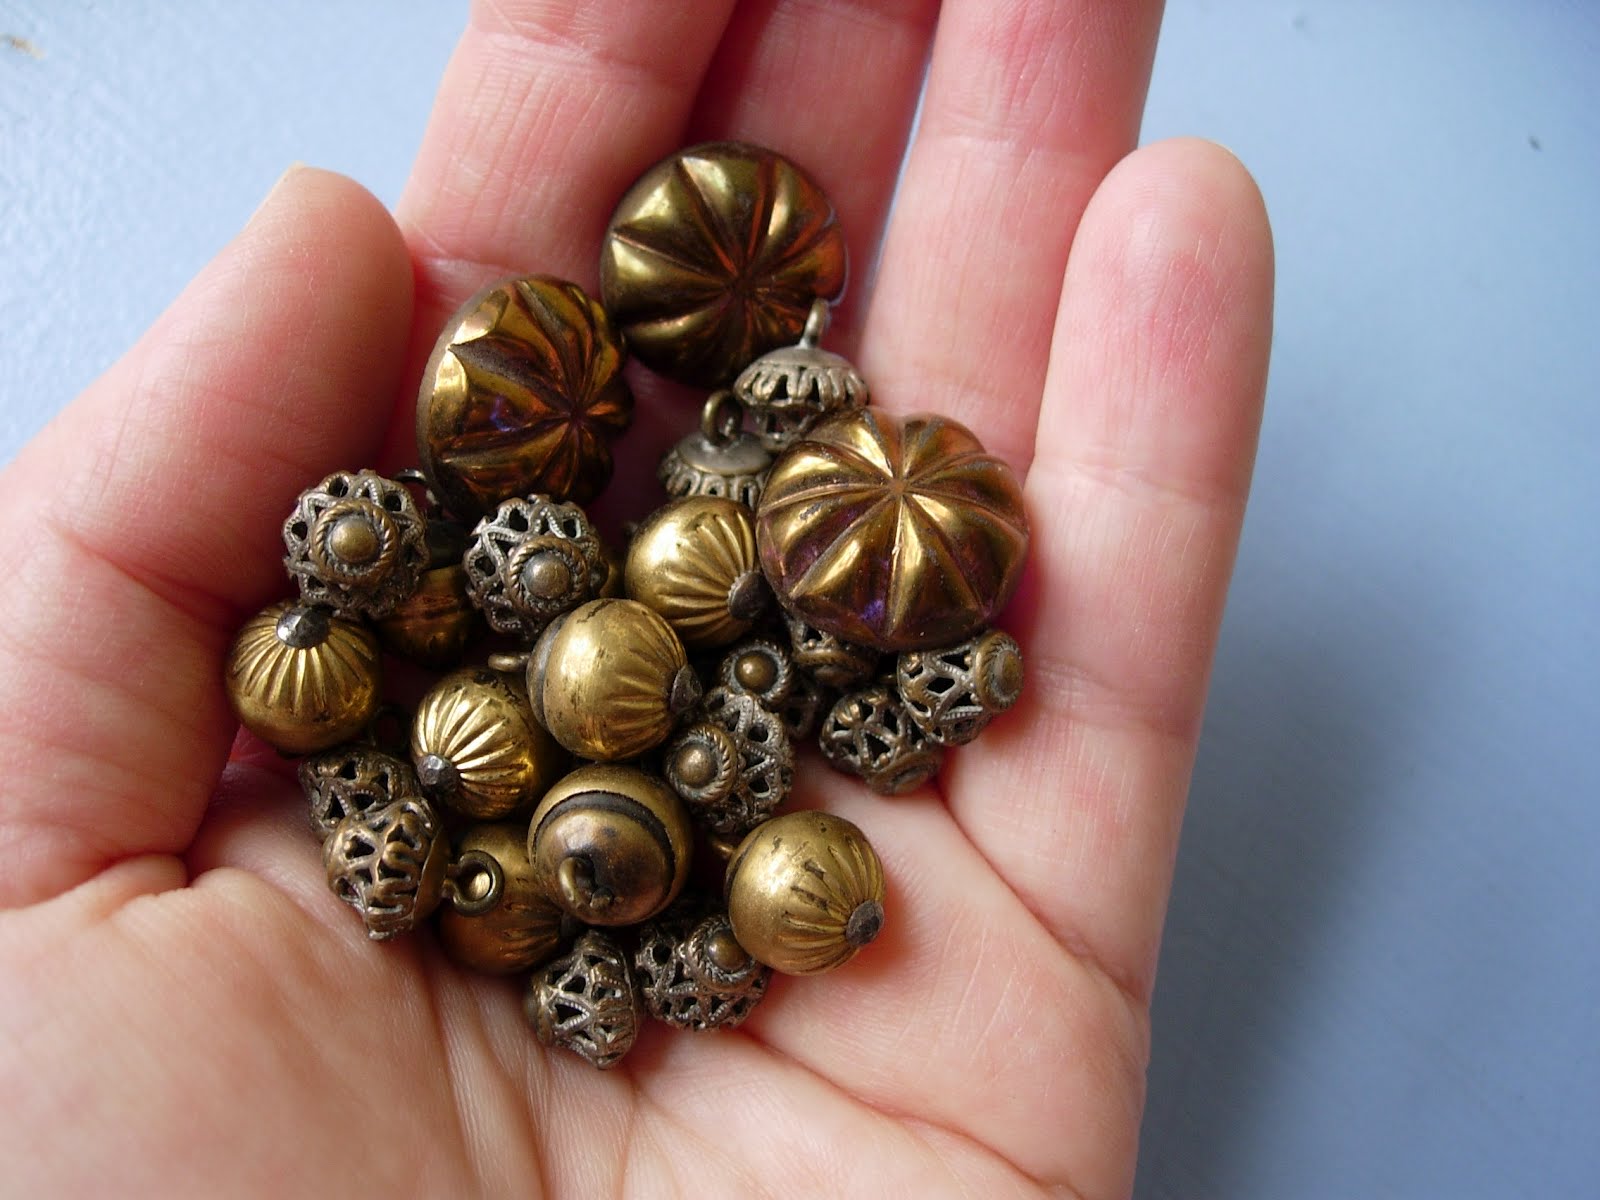
look at these beauties
i'm guessing they are victorian
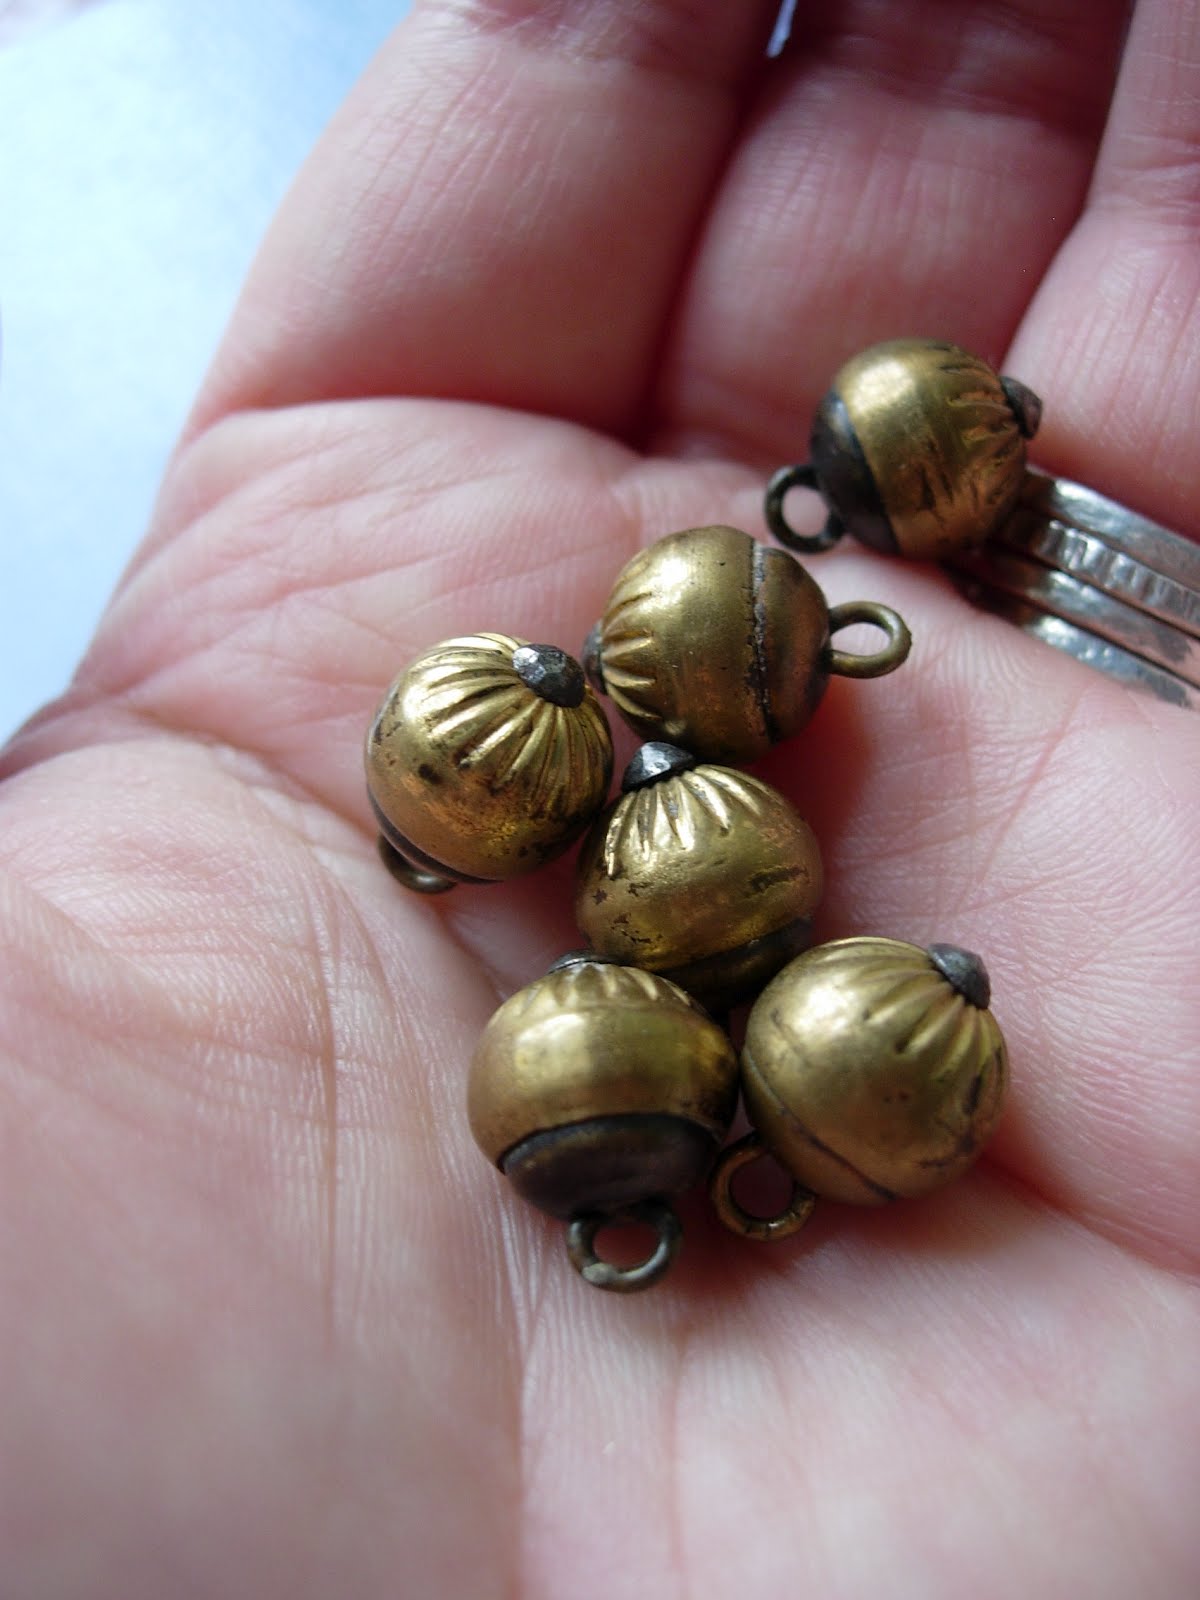
or maybe edwardian
these may be more modern
but they are very fancy
these are gorgeous
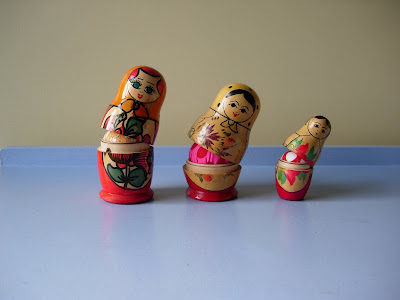
three different sizes of mirror backed filligree fancies
but these are definately my favourites
the "money shot"!!!!!
*******
unfortunately these puppies were not
so well recieved
insufficient bubble wrap
led to inevitable breakages
i did get a refund
but i felt so sad that these beautiful glass buttons
that had lasted for about 80 yrs
got broken on the short trip
across the U.K.
:'(
so if you buy buttons from me and wonder why
i use so much packaging
this is why!!!

Thursday, 26 January 2012

lot's of matryoshka pincushions

i think these are going to be my big seller in
2012
this was the first pincushion i made this year
because i have shops on Etsy and on Folksy
i often list the same item in both shops
this time it backfired and i sold the item twice!
So i had to make this one to order
and fast as it was to be a birthday gift :)
whilst i had all the gear out i decided
to make a few new dolly pincushions
i have such a collection of russian dolls
that it's hard to choose who gets an upgrade!
i tried out some different doll styles this time
i love this happy polka dot lady :)
and here's a little one
great for sewing on the go
i have one like this but even smaller
great for a holiday project

available in my Etsy shop
this is my favourite of the new dollies
very vibrant colours - i'm guessing she is from the 60's or 70's
loving the orange!
i made her pincushion with a vintage orange floral pillowcase fabric
very funky!
"we all carry scars from our pasts"
i love the little scars the vintage dolls have
i think it adds to their charm
I was lucky enough to get the last photo featured
in the Craftzine blog
and she sold already
and is on her way to her new home
in europe :)

Monday, 9 January 2012

Crafting in 2011

*crafting in 2011*
it was a funny old year for me craftwise
i just really lost my way
and had little enthusiasm for making things
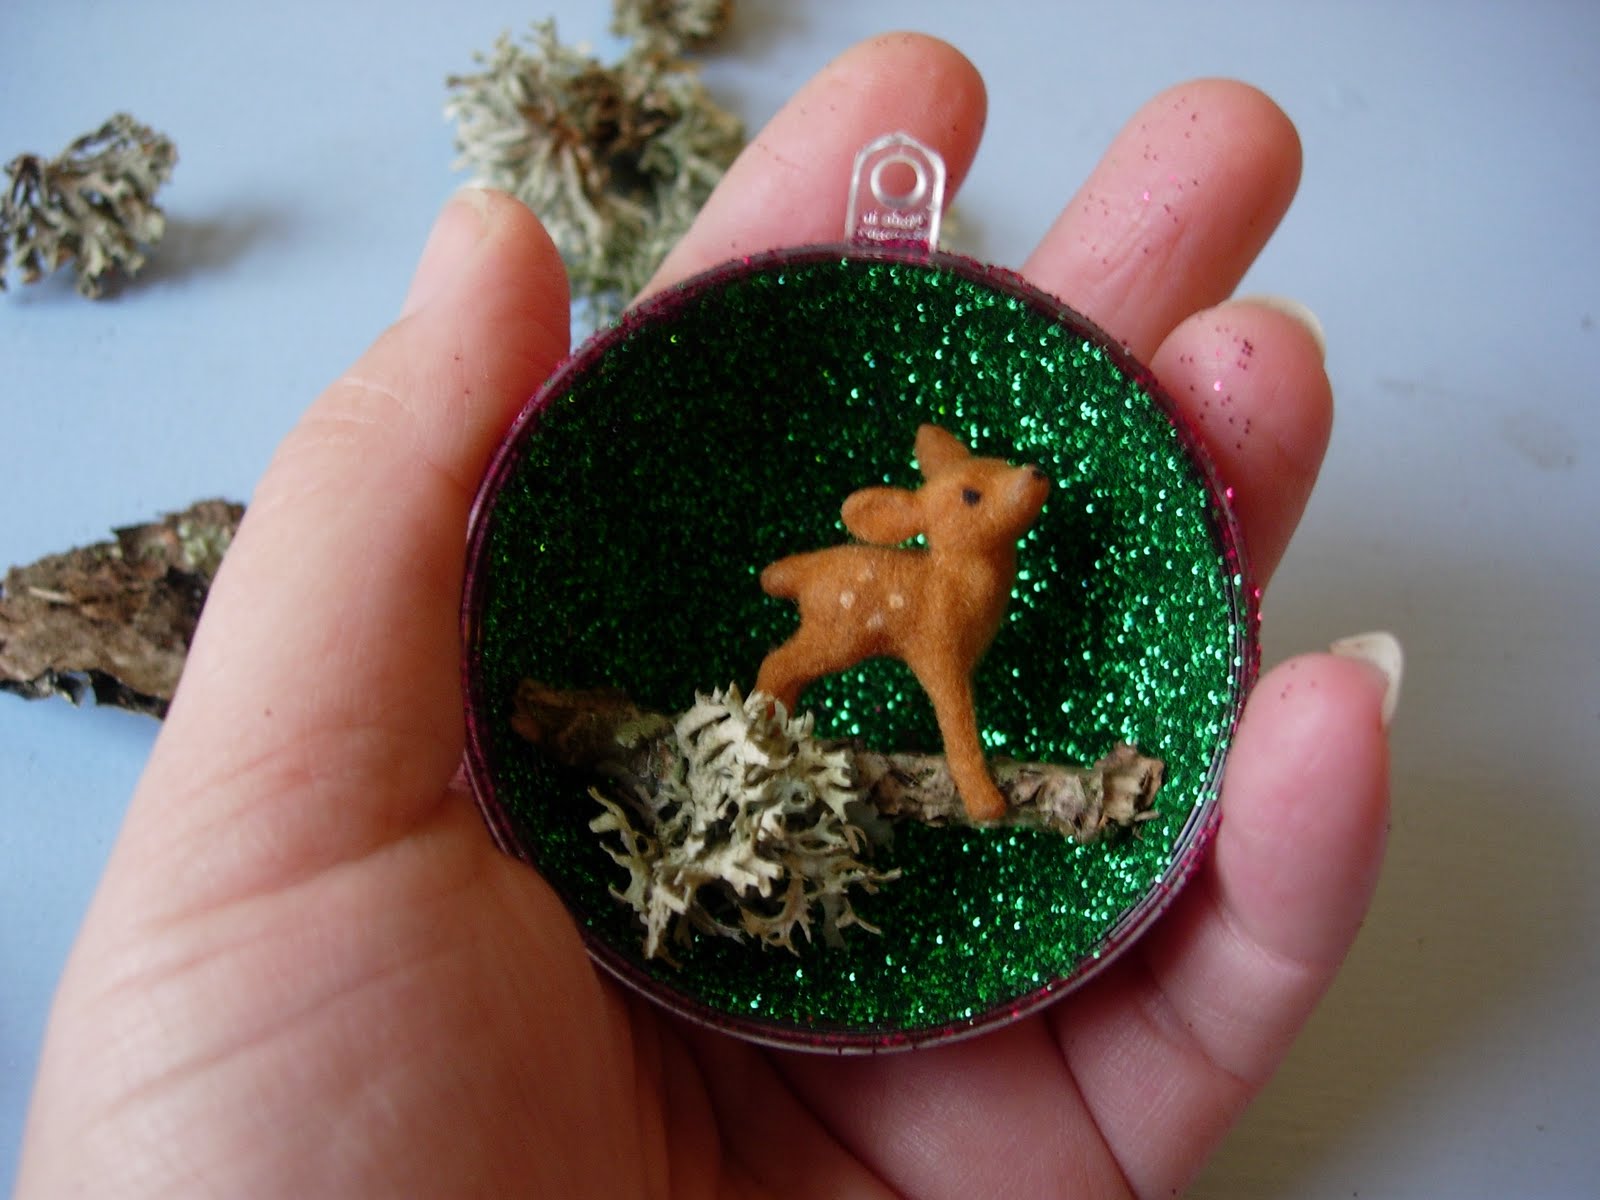
i really loved this bag i made as part of the Tim Burton swap
i really struggled to get going on this swap
but in the end i loved what i made
i still have no idea if the recipient liked what i sent
at last contact, before the american summer break
the parcel had arrived but had not been opened
i am still yet to receive my swap parcel . . . . .
i made these for the Crafter...oo button swap
i must make some more . . . .
nom nom nom :)
i had a spark of inspiration in September
when i made a handful of these pendants
and finally in November my crafty sparkle came back
just in time for the festive season!
which led to me making kitschy wreathes and baubles covered in glitter!
in 2012 i'm hoping to carry on with the dolly dress making
that i started in 2011
i find the handstitching very relaxing and something i can pick up
whilst the kids are happy playing and put down quickly when all hell breaks loose!!!
hope all my readers have a very happy and crafty 2012
x x xxx x x

Friday, 6 January 2012

vintage map pendant tutorial.

: vintage map pendant tutorial :


materials:


one memory frame


vintage lace - if using modern lace you could age it by tea dying it.


needle and thread


instructions:


step one: using one of the glass slides as a guide choose
an interesting section of map
and cut out using a sharp knife.


step two: choose some lace and sew to map section - i used a ruby red cotton
and added cross-stitches to the inside edge.


step three: using dry transfer lettering add a message


{excuse the rubbish photo - it was night time!}


step four: i then added a stitched heart


step five: sandwich collage between glass slides and insert into frame


step six: choose lace,ribbon,cord or chain for your pendant
or alternatively attach a ribbon and pin to wear it like a medal.


optional step:
i really liked seeing the back of the stitching so i didn't hide this part but you could cover the back of your work or add an extra message.


notes: make sure your collage is not getting too thick - it needs to fit between the glass sides and into the memory frame!


*******


This tutorial was previously published in


Issue One of the Crafter...oo Magazine


it is still available to buy here


as is the new and exciting Issue Two for just £1.50


Wednesday, 4 January 2012

the start of something . . . .


My Mum gave me this antique lace a few weeks ago as she has had it for years

and never used it - it's so pretty and as it isn't from my personal lace stash

i'm going to use it before i get attached to it!

this year i'm going to try and reduce my massive stash of buttons/lace and vintage fabrics.

i decided that i'd use the lace to make a victorian style dress for my Blythe doll Idris

and as my sewing machine is out of action i'm going to be doing this totally by hand

the base fabric is an old pillowcase that belonged to my Aunty Thelma,

she was a terrible hoarder - not that i'm in any position to pass comment!


vintage ingredients:
i cannot seem to use vintage lace without a splash of red sylko thread!
i think this will get used on the wheel design on the lace.


trying it on for size

not sure how long i'll make the skirt

or even how i'll make the waistband yet

trial and error this time and hopefully i'll learn as i go!

Idris is hoping there will be a top to this dress

it's a bit cold to go topless!


just found this photo booth treatment on big huge labs

cool eh?

think i'll be using it a lot!!


HaPpY NeW yEaR

eVeRyOnE


i'm hoping for a creative

2o12


hope you all have one too x

Friday, 30 December 2011

Crafter...oo Magazine Issue 2


out now!


go get it!


click on link below


some great projects and features in this issue


i have to say my favourite is the

vintage spool ipod headphone tidy

i need one!


Well done to Kerry and all the contributors :)


Sunday, 18 December 2011

Bauble Dioramas

you will need a two part clear plastic bauble

gather up your supplies

i have used a two part bauble

self adhesive paper lace

and gold paint marker

Anita's tacky glue

lots of glitter

and

you will need some small cute items to go in your bauble

first paint the inside of one half of a bauble with pva glue

then cover with glitter!

shake of the excess and return to pot

try not to spill it everywhere like me :)

leave to dry
shake of excess glitter


next do the outside
again leave to dry


now you can try out some of your cute little decorations


i loved the little fawn but thought it would look better

in a snowy glittery scene


i had taken this irridescent fluff out of a glass bauble i'd used as a mini terrarium

and the baby russian doll was an orphan

she looked just right on her snow!

i glued in the "snow"
left it to dry


then added the tiny doll

i wedged her in with the rubber till the glue had dried
whilst i waited, i coloured some white paper lace gold with the paint pen


once dry i added the gold paper lace to the bauble


cute eh?


lastly i added a black ribbon bow to the top

***


here's my first diorama
we have had some very wild weather lately

so i've been finding lots of twigs and lichen blown down whilst out on my walks with Max

having made mini bauble terrariums with some of the lichen

the rest had dried out, so i have used some of the twigs on wreaths{photo's soon}

and had this little bit left that fitted perfectly in the bauble

i used very fine white glitter on the inside of this bauble

and a courser irridescent white glitter on the outside

very frosty!

i love these tiny birds but i'm running out :(


***

i've had great fun making these baubles

and i'm now keeping my eyes peeled for tiny things to go inside them

i found some fantastic little people and animals in the model train shop

and cute bottle brush trees in the cake decorating section at the cook shop.


i think i'll use that little fawn next :)